MP4 to MP3 Conversion Checklist: 6 Quality Checks Before You Hit Send
You just spent three hours editing a podcast episode, or maybe you pulled the audio track from a client's promo video, and you hit "convert." The MP3 pops out. You shoot it over to the client or upload it to your host. Then the reply comes back: "The intro sounds distorted," or "Why is this 80 MB?" Or worse, you get a download link and the track shows up in a playlist as "Unknown Artist — Track 1."
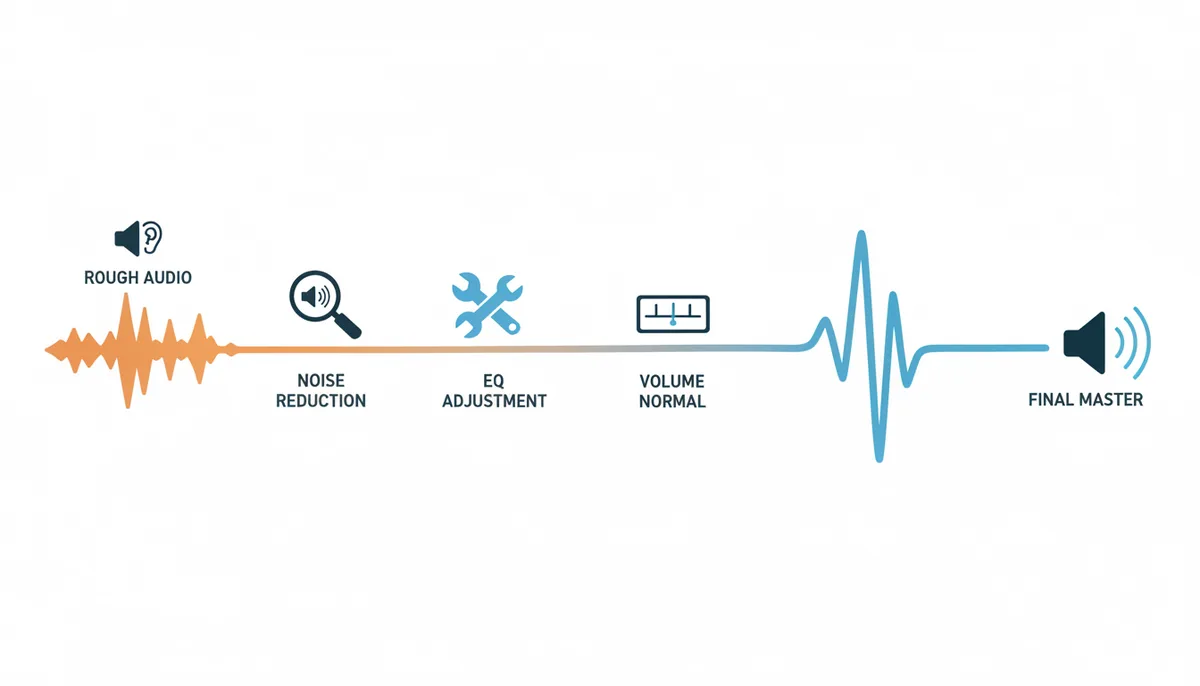
Conversion itself is effortless. Any free tool can turn an MP4 into an MP3 in seconds. But conversion is only step one. A share-ready MP3 requires a quality-assurance pass that most people skip entirely. This checklist is that pass. Six checks, about ten minutes of your time, and the difference between an embarrassing file and a polished, professional result.
1. Why Do You Need a Checklist Before Sharing Your MP3?
The misunderstanding that causes most bad audio is thinking that the conversion tool's output equals the final product. It doesn't. Conversion just re-encodes the audio track from the video container into a standalone audio file. That's it. It doesn't fix loudness problems, it doesn't clean up the recording, and it certainly doesn't add the metadata your track needs to look professional in a music library.
What actually happens when you share a raw conversion? Four things, and they're all bad. First, the volume is never right. Video audio is mastered for TV or YouTube, not for a podcast player. You send it to a friend, they hit play, and they're grabbing for the volume knob. Second, the file is huge because you left the source bitrate at 320 kbps, or you exported at 48 kHz when a music player expects 44.1 kHz. Third, the audio has ugly digital artifacts because the original MP4's AAC track didn't have enough bitrate to survive re-encoding. Fourth, and most subtle, the file has dead silence at the start and end, awkward clicks, or it starts mid-word. None of those are conversion failures. They're QA failures.
This checklist is that QA layer. It walks you through the six things a professional checks before any audio leaves their hands: your conversion settings, a critical listening pass, loudness normalization, clean trimming, metadata, and final file specs. Skip one of these, and you're rolling the dice on your listeners' first impression.
2. Check 1: Did You Use the Right Conversion Settings?
Before you even look at the waveform, you need to know how the MP3 was encoded. The encoder settings decide everything downstream: file size, clarity, and compatibility. You can't fix a bad encode by normalizing later. You have to set it right at the start.
Bitrate: The Currency of Quality
Bitrate, measured in kbps (kilobits per second), is how many bits the encoder is allowed to spend on every second of audio. Higher bitrate means more detail preserved, and more disk space consumed. Lower bitrate means a smaller file, but you start losing the high frequencies and the stereo image gets smeared.
Here is the honest trade-off most tools don't show you. At 128 kbps, a stereo MP3 sounds okay on laptop speakers and phone earbuds. But listen on real headphones or a decent speaker, and you'll hear a "shimmery" hiss in the highs, and cymbals will sound like white noise. At 192 kbps, that shimmer mostly disappears. At 320 kbps, the MP3 is essentially transparent — you cannot hear the difference between it and the original lossless source in a blind test. The cost is file size: a 192 kbps stereo track is about 1.4 MB per minute. At 320 kbps, it's 2.4 MB per minute. For a 45-minute podcast, that's the difference between a 63 MB file and a 108 MB file.
So what should you pick? Here's my rule, and I'll name the trade-off: for anything that's just speech, use 128 kbps in mono. Nobody needs stereo for a conversation, and you cut the file size in half. For music, use 320 kbps if you're distributing to streaming or selling the track. For internal review files or email attachments, drop to 192 kbps. The trade-off is 2 MB per minute versus 2.4 MB per minute. If you're paying for storage or fighting an email attachment limit, that single digit matters.
CBR vs VBR: Don't Let "popular" Dictate Your Choice
MP3 encoding offers two approaches to spending those bits. CBR (Constant Bitrate) uses the same number of bits for every second of audio, whether that second is complete silence or a wall of distorted guitars. VBR (Variable Bitrate) lets the encoder save bits on simple passages and spend more on complex ones. VBR usually produces a smaller, higher-quality file. So why would anyone use CBR? Compatibility. Some older car stereos, cheap MP3 players, and even certain podcast platforms have hiccups with VBR files. They'll play, but they might not allow seeking properly, or they'll drop the last few seconds. If you're going to upload a file to a distribution platform that re-encodes it anyway, as most do, use CBR. Predictability beats cleverness. If you're using VBR, the standard range is -V0 (highest) to -V9 (lowest). Stick with -V2 if you need VBR; it's the sweet spot, around 190-210 kbps average for music.
Sample Rate: 44.1 kHz, Not 48 kHz
A classic rookie error is exporting the MP3 at 48 kHz because the video file was 48 kHz. That works, but many music players and most podcast apps expect 44.1 kHz, the CD standard. When a player has to convert, you can get slightly off timing cues in certain operations. It's not a disaster, but why invite the problem? Convert your sample rate to 44.1 kHz during the MP3 export, not afterward. If you're making a file for a video editing project that uses 48 kHz internally, keep 48 kHz, but know that you're outside the audio distribution norm. For anything going to an audience, 44.1 kHz is the rule.
When you convert with ExtractSound, you have direct control over these settings in the browser, which is a good habit: the source file never leaves your machine, and you decide the bitrate before the encode happens. That's the right time to make the call.
| Use Case | Bitrate (kbps) | Sample Rate (kHz) | Channels | Typical Size per Minute |
|---|---|---|---|---|
| Podcast / Spoken Word | 128 | 44.1 | Mono | ~0.9 MB |
| Music (Streaming / CD Quality) | 320 | 44.1 | Stereo | ~2.4 MB |
| Music (Email / Quick Review) | 192 | 44.1 | Stereo | ~1.4 MB |
| Web Audio / Teaching Clips | 128 | 44.1 | Stereo | ~1.0 MB |
| Audio Notes / Rough Drafts | 96 | 44.1 | Mono | ~0.7 MB |
3. Check 2: Have You Listened for Conversion Artifacts and Glitches?
I'm not going to tell you to "give it a quick listen." I'm going to tell you to do a dedicated critical listening pass. That's different from just letting the file play in the background while you check email. You are hunting for specific flaws, and you need the right equipment to find them.
Put on a pair of over-ear headphones — closed-back if you have them — and actually pay attention. You're listening for three categories of problems, and each one points to a different cause.
Digital Artifacts (Metallic Ringing and Swirls)
These are the most common result of a high-bitrate source being encoded into a low-bitrate MP3. You'll hear it in the high end: cymbals sound like a "swishing" or "twinkling" instead of a crisp "tsh," and anything with sustained strings or keyboard pads gets a faint "pingy" halo around it. That's called pre-echo. If the conversion tool was given a low bitrate, or the original video's audio was already heavily compressed, this is what you get. The fix is to re-convert with a higher bitrate setting. If you're hearing it at 320 kbps, the source file itself is likely the problem. There's no fix for that except finding a less-compressed source. Don't try to "fix" artifacts in an editor. Re-encode correctly or get a better source.
Clipping and Distortion
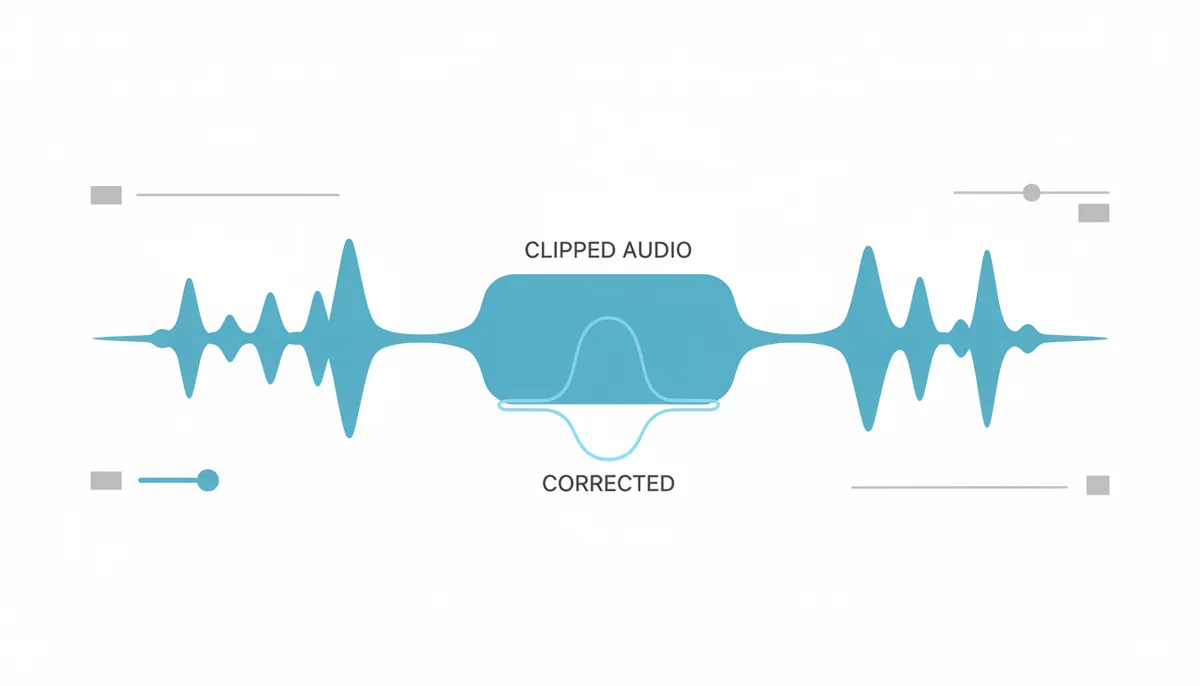
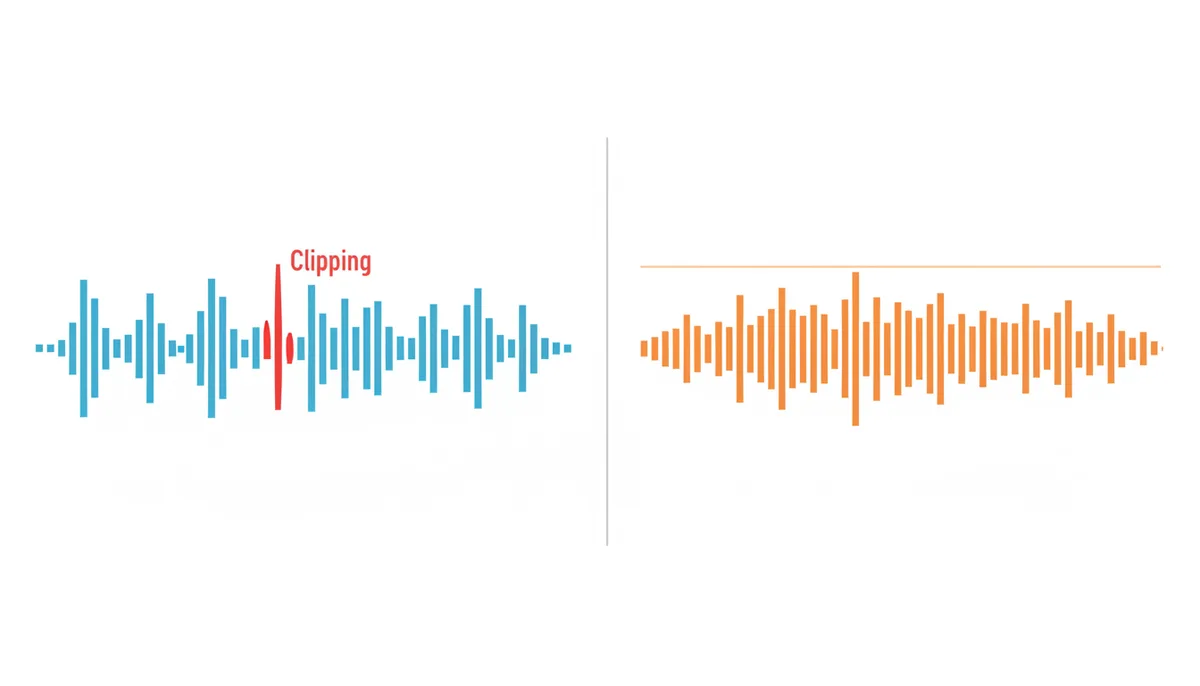
Clipping sounds like a harsh "fuzz" or "crackle" on the loudest parts of the audio, especially on kick drums, shouting, or loud guitar chords. This means the audio signal was too hot for the encoder. In the digital realm, a waveform that was already at 0 dB full scale is getting raised above that — the top gets chopped off. Clipping can come from the original video (if the audio was recorded too loud), or from you applying volume gain later and pushing the track past 0 dB. If you listen to a passage and it sounds like the speaker's voice is "breaking up" when they get excited, that's clipping. You can only fix this if the clipped peaks are momentary; if they're baked into the source, you're stuck. At that point, you have to decide: salvage a damaged take or re-record. Real professionals re-record.
Carried-Over Video Glitches
Sometimes the MP3 is clean, but the content isn't. Video files can have dropouts, network buffering blips, or sudden audio ducking. When you strip the audio, you keep all of that. So listen for "ghost" problems: a sudden drop in room tone, a weird echo that comes and goes, a bit of robotic garbling. All of these say the original video's audio track was damaged, and no MP3 conversion will repair it. This isn't a conversion failing, but it's a content failing that you're responsible for catching before you share.
The Listening Process
Don't listen to the whole track. You'll get fatigued and start missing things. Instead, jump to three specific spots: the opening (first ten seconds), the middle (where the arrangement or conversation gets dense), and the loudest section. Listen to each for about 20 seconds. That's a minute of focused listening that catches 90% of problems. Then, skip to the end and check if the track cuts off a word or thought.
4. Check 3: Is the Audio Volume Correctly Leveled?
Now that the audio is clean, you have to make it loud enough to be heard but quiet enough to not distort. This is the loudness check, and it is the most poorly understood part of audio production. Most people look at the waveform's "height" in their editor and judge it visually. Bad idea.
A waveform can look impressively tall but still sound quiet, because it only has occasional peak transients—brief moments of "loudness" with the average signal far below. Meanwhile, a dense, compressed file might look shorter but sound much louder. Our ears perceive loudness as an average over time, not as momentary peaks. This is where the difference between peak measurement and loudness measurement matters.
Peak volume, measured in dBFS (decibels Full Scale), is the absolute highest point. Loudness, measured in LUFS (Loudness Units Full Scale), is the average perceived level over time. For example, a podcast with an interview where the host speaks quietly and the guest shouts has wildly inconsistent loudness even if the peaks are similar. The listener will constantly adjust volume.
What Loudness Standard Do You Target?
Streaming platforms have settled on specific loudness targets. Spotify normalizes everything to about -14 LUFS. Apple Podcasts uses -16 LUFS. YouTube is roughly -14 LUFS. These are the standards you should master to, because they represent what broadcasters call "loudness for delivery."
Here's the nuance that confuses people: if you upload a file that is already at -14 LUFS, Spotify leaves it alone. If you upload a file that is at -10 LUFS (louder), Spotify will turn it down. If you upload at -20 LUFS (quieter), Spotify will turn it up, and turning it up can introduce clipping if the file just has low peaks.
The practical rule is this: target -16 LUFS for anything spoken word and -14 LUFS for anything musical. And leave at least -1 dB of headroom (a true peak ceiling of -1.0 dBTP) to be safe.
How do you check this without a hundred-dollar plugin? You can use a free tool like Audacity with the "Loudness Normalization" effect, which measures and adjusts integrated loudness in LUFS. Alternatively, you can use the `loudnorm` filter in FFmpeg if you're command-line comfortable. The process is simple: run the analysis, read the Integrated Loudness value, then apply gain to hit -16 LUFS. Here is the step-by-step process in Audacity:
- Import your MP3 into Audacity.
- Run Effect > Loudness Normalization.
- Set Target Loudness (LUFS) to -16.
- Check the box for "Normalize to" and choose a True Peak limit of -1.0 dB.
- Apply, then export.
This does two things at once: it turns down the entire track so the average hits -16, and it ensures no transient runs too hot.
The Headroom Mistake
Let me explain what "headroom" actually protects you from. When you compress an MP3, the encoder creates small "ringing" artifacts around sharp transients, and those can push the actual analog signal past the digital ceiling, even if the digital file shows peaks at -1 dB. This is called an inter-sample peak. If you export a file that looks like it peaks at -0.5 dB, the true peak could be +0.2, which causes an audible click on some playback systems. That's why we aim for a true peak of -1.0 dB. You are deliberately keeping the file slightly below the max, sacrificing -1 dB of loudness, to avoid an intermittent distortion that only appears on certain speakers. Worth it.
5. Check 4: Is the Audio Trimmed and Edited Cleanly?
The most amateur tell in audio isn't a bad mic. It's a file that starts with 3 seconds of silence, or room tone, or a loud "clack" from the recorder being switched on. Or it ends abruptly. You might not think this is a conversion issue, but it's a delivery issue. The file you're about to share must have a clean beginning and end.
Trim the Dead Air
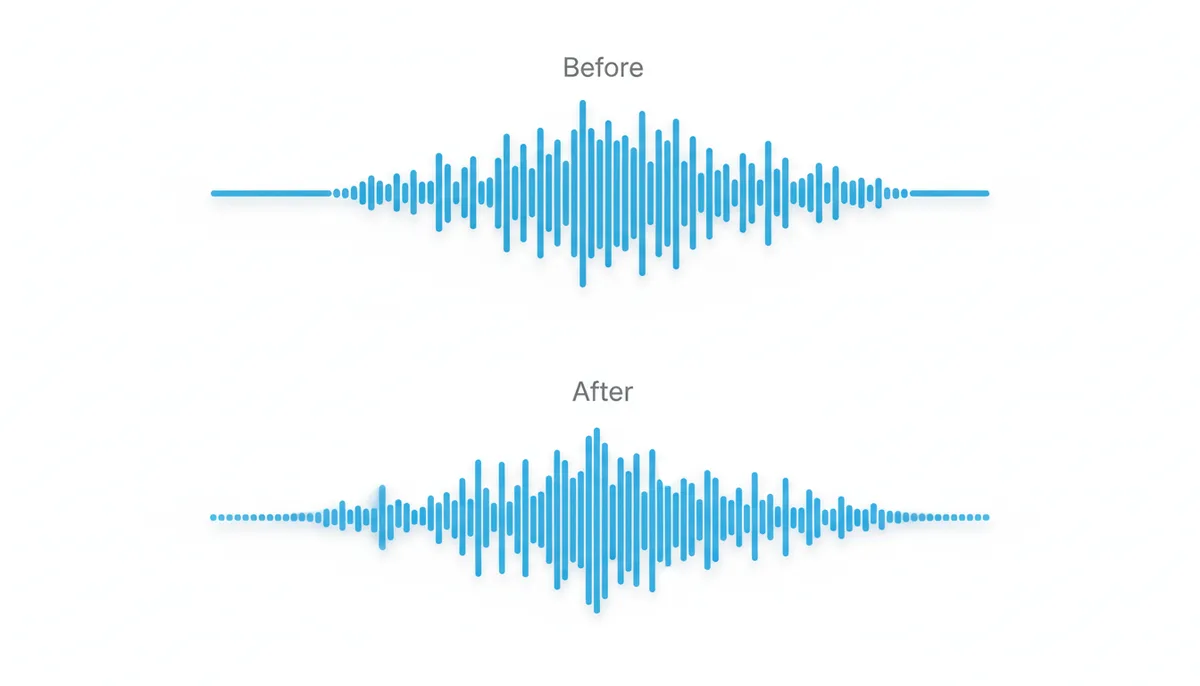
Open the file in an editor. Zoom in to the very beginning of the waveform. You'll usually see a flat line (silence) followed by the room tone or the first word. Cut that silence so the file starts right at the first meaningful sound. At the end, do the reverse: cut off the trailing silence or the tail of a final inhale. This is not about being obsessive. It's about avoiding a weird "gap" in a playlist.
Apply Fades (Subtle, Not Aggressive)
You need two fades: a short fade-in of about 100 milliseconds (a tenth of a second) to prevent a hard click on the first syllable, and a fade-out of about 300 milliseconds to prevent the end from cutting off abruptly. In most editing software, this is a single click. The parameter is "fade curve." Use an "equal-gain" or "S-curve" fade, not a simple linear ramp. A linear fade reduces the volume in a straight line, which actually makes the fade audible. An S-curve makes the volume drop slowly at the beginning and end, which sounds natural. If you're using FFmpeg, you can apply this in one command while trimming:
ffmpeg -i input.mp3 -ss 00:00:00.5 -to 00:01:00 -af "afade=t=in:st=0.5:d=0.1,afade=t=out:st=59.5:d=0.3" -c:a libmp3lame -q:a 2 output.mp3
That command removes the first half-second, cuts to one minute, applies a 0.1s fade-in and a 0.3s fade-out, and re-encodes at the LAME encoder quality level 2 (roughly 190 kbps VBR).
Remove Clunks and Breathe (Sparingly)
If you have a loud click or a misplaced cough that's buried in the audio, you can usually fix it with a simple gain drop. Highlight the 0.2-second section of the clunk and lower it by -20 dB. Don't try to completely delete it, as that may cause a timing jump. And fight the urge to apply aggressive noise reduction. Over-processing creates robotic-sounding artifacts. If you have a computer fan hum, use a high-pass filter at 80 Hz, not a broadband noise reduction that will make your voice sound like it's underwater.
6. Check 5: Is the File Metadata Complete and Accurate?
Imagine your listener opens their podcast app and sees your file displayed as "Unknown — Track 1 — 00:45:32." Does that inspire confidence? No. Would you even know what that was? That's what happens when you skip metadata, the ID3 tags embedded in the MP3 file itself.
ID3 tags are the standard fields that players read to display information. The essential ones are:
- Title: The episode or track name, not the filename. "Episode 42: The Future of Remote Work," not "final_mix_v3_2024.mp3".
- Artist: The person or entity credited. If it's your podcast, that's your name. If it's a song, it's the artist. Don't skip this.
- Album: The series or project name, like "The Remote Work Podcast."
- Track Number: For an album or multi-part series. Nobody needs "Track 1" on a single file, but if it's part of a set, label it 1/12.
- Year: The release year.
- Genre: For discovery. "Podcast" or "Technology."
Beyond the basic fields, there is one non-negotiable: cover art. A track without cover art looks broken in Apple Podcasts, Spotify, and even Windows Explorer. It shows a generic gray music note, and your podcast doesn't get a professional banner. You need to embed a square JPEG or PNG into the file itself. Most players will not read a separate image file you bring along; it must be inside the MP3.
How do you edit metadata? You have two options. The lazy one is to right-click the file in your operating system, go to Properties, and type in the fields. That works for basic tags. The professional way is to use a dedicated tag editor called MP3tag (free for Windows) or Kid3 (free for Mac). These let you drag and drop cover art and batch-tag a whole series at once. If you use ExtractSound's conversion, the resulting file has the basic tags, but you'll need the editor to add series-level info.
This check takes 60 seconds, but it's the difference between your audio being treated like a file and treated like a product. Don't skip it.
7. Check 6: Does the Final File Meet Technical Requirements?
You've done the QA pass. The audio sounds clean, the loudness is set, the fades are proper, and the metadata is present. Now you need to confirm the file is actually going to work where you're sending it. Two specific technical requirements: the file extension and the file size.
The Extension Trap
This sounds ridiculously basic, but it's a real problem. If your source file was a .m4a and you accidentally named the output "file.m4a.mp3," some players will get confused. Also, some conversion tools export a WAV file (audio PCM) with a .wav extension, but you think you got an MP3. Check the extension. If it's not exactly ".mp3", you have the wrong file. Right-click the file on your desktop, go to Properties, and verify. It takes two seconds, and it prevents the classic "I sent you an MP3" that turned out to be an uncompressed WAV that's 10x the intended size.
Size Limits at Common Destinations
Next, verify the file size is within the limits of its destination. A 45-minute podcast at 320 kbps stereo is around 108 MB. Some email servers have a hard 25 MB attachment limit. So you need to know the rules before you hit send. Here is a practical reference:
| Destination | Typical Size Limit (Applies to MP3) | Recommended Max for Reliability |
|---|---|---|
| Gmail / Email | 25 MB | Keep under 10 MB |
| Podcast Hosts (Libsyn, Buzzsprout) | 100 - 500 MB | 50 MB (under 1 hour episode) |
| Spotify / Apple Podcasts | No strict limit; platform re-encodes | 50 MB (under 1 hour) |
| Discord (Free Tier) | 10 MB | 10 MB |
| 16 MB | 16 MB | |
| SoundCloud (Free Tier) | ~180 Minutes / ~500 MB | 50 MB |
If your file is too big for email at 10 MB, that's a signal to re-export in mono at a lower bitrate. A 128 kbps mono file will be about 0.9 MB per minute, so an 8-minute clip is about 7 MB—fits fine in an email. If your file is too big for a podcast host, you've either uploaded a lossless WAV by accident, or you exported at too-high a bitrate. Go back to Check 1.
The last technical confirm? Listen to the very beginning and end of the file one final time, in the player the recipient will use, and check that the metadata displays correctly. That's the final, real-world verification.
FAQ: Common MP3 Conversion Questions, Answered
Does converting from MP4 to MP3 always reduce audio quality?
Yes, it does, and it's important to be honest about that. An MP4 video typically contains an AAC audio track, which is a lossy format. MP3 is also a lossy format. Converting from one lossy format to another always involves re-encoding, which means generation loss. The good news is that at 192 kbps and above, the additional loss is usually imperceptible to the human ear. The key is to never let the bitrate drop below 128 kbps, and ideally keep it at 192 or 320, to make the loss as inaudible as possible.
What's the difference between VBR and CBR bitrate?
CBR, or Constant Bitrate, uses the same number of bits for every second of the audio file. It doesn't matter if that second is pure silence or a full band; the encoder uses the same budget. This makes the file size highly predictable, which is useful for broadcast or when you need a guaranteed file size. VBR, or Variable Bitrate, lets the encoder use fewer bits for simple sounds and more bits for complex sounds, resulting in a smaller file with good overall quality. The trade-off is compatibility: a handful of older players and some car stereos have issues seeking or playing VBR files. My rule: if a human is going to download and play it directly, use CBR. If you're optimizing for file size above all else, VBR at -V2 is the standard.
Can I convert an MP3 file back to an MP4 video?
Yes. MP3 is just an audio file, while MP4 is a container that holds video and audio. To create an MP4 from an MP3, you need to add a video track. This can be a static image (a JPEG at a fixed resolution) or a visualization like a waveform animation. Tools like FFmpeg can do this easily with a command like ffmpeg -i audio.mp3 -i image.jpg -c:v libx264 -c:a aac output.mp4. However, be clear that this doesn't restore the original video footage. It creates a new video from your audio and a static background.
How do I edit the metadata (ID3 tags) of an MP3 file?
The right way is to use a dedicated tag editor like MP3tag (Windows) or Kid3 (Mac and Windows). These tools let you edit all ID3 tags in bulk, drag-and-drop cover art, and rename files based on the tags. A quick-and-dirty way is to right-click the MP3 file in Windows Explorer or macOS Finder, choose Properties or Get Info, and edit the fields there. That works for single files, but it's inefficient when you have a whole album or series.
Why is my converted MP3 file so large?
You almost certainly over-specified the bitrate. Some tools default to 320 kbps for stereo, which gives you 2.4 MB per minute. A 15-minute track becomes 36 MB—far too large for most casual sharing. Ask yourself what the audio contains. If it's just a person speaking, a 128 kbps mono file is appropriate, which is about 0.9 MB per minute, or 13.5 MB for that same track. The highest settings are for music that will be critically listened to on high-end equipment. If you don't need that, lower the bitrate and use mono. You'll be surprised at how well it holds up.
What is the difference between loudness (LUFS) and volume (dB)?
Volume in dB (decibels) is a technical measurement of a signal's amplitude at a specific moment in time. It measures the peak. Loudness, measured in LUFS, is a measurement of the average perceived volume over a period of time. Our ears don't perceive a single peak as "loud" — they perceive the overall energy of the sound. A file with a snare drum hitting at -1 dB might sound quieter than a file with a dense synthesizer pad hovering at -6 dB, because the continuous energy of the pad is higher. That's why, for broadcast and streaming, we set the target in LUFS, because it directly correlates with how loud your audio sounds to a listener. It prevents the issue of a track that looks "good" on a waveform but sounds weak in a car stereo.
Sources
- European Broadcasting Union (EBU) — The use of LUFS as a standard for broadcast and streaming audio, specifically referencing the EBU R 128 standard.
- FFmpeg — Information regarding the technical underpinnings of audio/video conversion, codecs, and container formats like MP4 and MP3.
- Spotify for Podcasters — Platform-specific recommendations for audio files, including target loudness levels (-14 LUFS) and supported file formats.
- Apple Podcasts for Creators — Best practices and technical specifications for audio submitted to the Apple Podcasts platform, including loudness recommendations (-16 LUFS).